Guide to Integrate Red Oxygen with ManageEngine ServiceDesk Plus
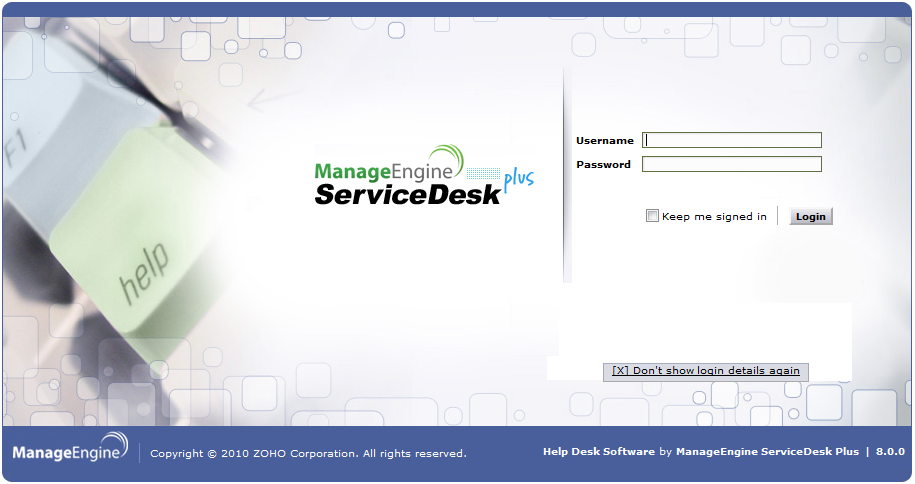
1. Log in to your ServiceDesk Plus as an administrator

2. Click “Admin” tab
![]()
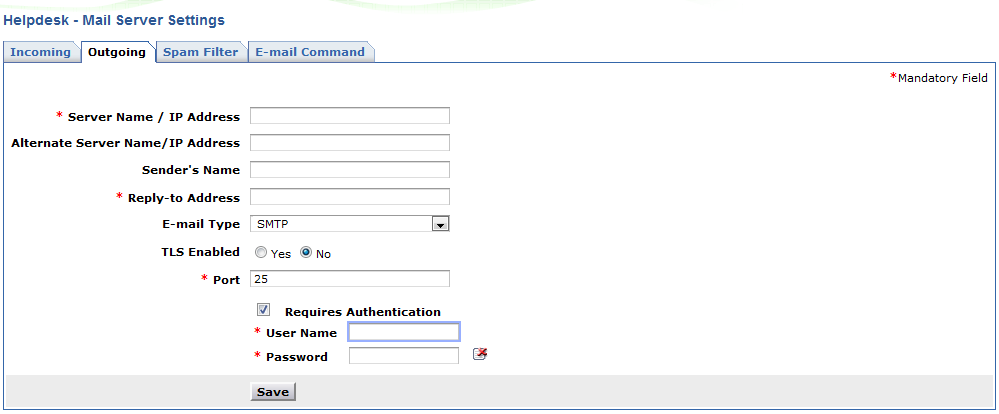
3. Within Helpdesk section, click “Mail Server Settings”

4. Set up your Outgoing Emails, click “save” to apply your changes
Please note: the email address that you put in “Reply-to Address” must be registered with Red Oxygen, otherwise you can’t use our service.
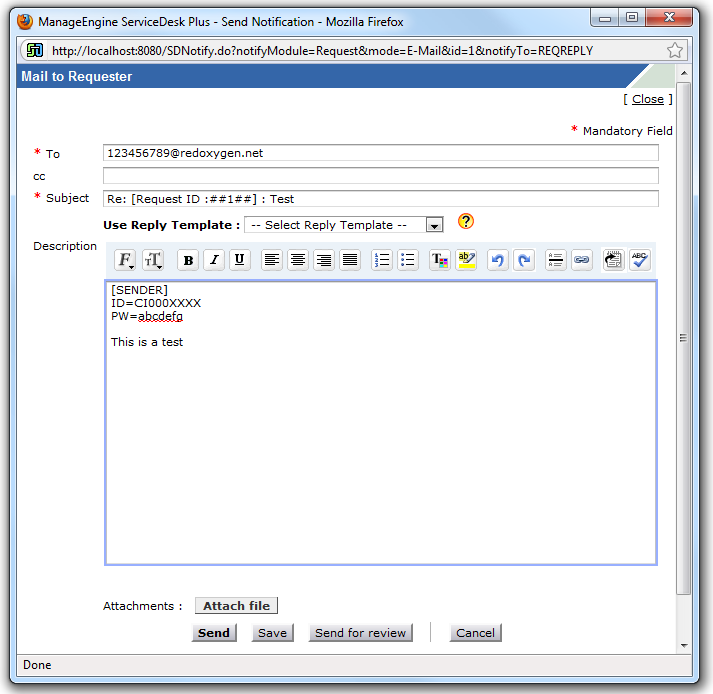
5. When try to send out a text message, instead of an email address, please change it to number@redoxygen.net, such as 1234567890@redoxygen.net.
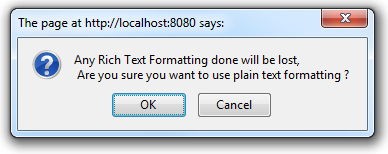
6. Click “Toggle HTML Source” and change your message to “Plain Text”. Select “OK” to ignore the warning.
7. There are two ways to pass Red Oxygen authentication.
-
IP authentication: If you have static IP address for your email server, you can register it at Red Oxygen, so you don’t need to put your account information in your messages.
-
Password authentication: you need to put the following information in your message body.
    [SENDER]
    ID=CI000XXXX
    PW=abcdefg
See the example for password authentication below:
-
[SENDER] is the same for all accounts. It is just [SENDER] in upper case, not your account name. This is the first line of your message
-
ID=CI000XXXX is your Account ID, case sensitive, must be in upper case. This is the second line of your message.
-
PW=abcdefg is your password. It is case sensitive, according to the password you set. But “PW=” need to be in upper case. This is the third line of your message
-
Leave the fourth line blank.
-
Message content starts from fifth line, such as “This is a test”.
Password authentication needs more information, and requires you to follow the message format. So if you have static IP address, we suggest you to register your IP address. Then you don’t need to provide any account information, just change your message type to “Plain Text” and type your content.
For more authentication details, please view Red Oxygen Email API documentation.
8. Click “Send” to send out your message


